Hello Everyone, Please let me know that how to run diagnostics on windows 10? I don't know how to run it. I tried many times but unable to run it. Help me.
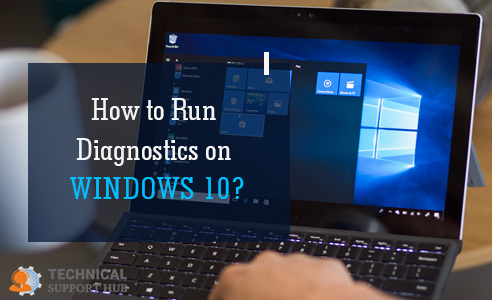
Don't you encounter various types of issues while working with Windows 10? If yes, how to resolve those problems? This guide brings you step by step solution to run diagnostics on Windows 10 operating system. Let's start by learning them in order.
Here are the basic steps one must follow to run diagnostics on Windows 10 system.
1. Launch "Control Panel” using Windows search bar.
2. Find and select “System and Security” tab.
3. Click on “Administrative Tools”.
4. Now, select the “Windows Memory Diagnostic” option.
Simple Trick: Press Windows Key + R keys together and type mdsched.exe into the field.
5. Lastly, choose “Restart now and check problems” option.
So, as your machine restarts, you will open into the Windows Memory Diagnostics environment. This mode allows yourapplication to run all the scans available in the Basic mode.
Undoubtedly, Troubleshooting Assistant has been a major part of the Windows operating system for years. Using Windows 10 Diagnostic tool, you can check and verify the proper functioning of certain components of your operating system. Unfortunately, few users have reported issues with this Diagnostic Troubleshooter and some error messages also show on their Windows 10 PC. As a result, this can create a big problem in future, so, here's how to fix it.
Solutions when Diagnostic Troubleshooting Wizard is not working on Windows 10
It's essential to run diagnostics on Windows 10 at regular intervals, but when the tool is not working, you can fix it using the following ways.
.NET Framework forms the base for all Windows applications ranging from system applications to video games. This means that every Windows OS has .NET Framework installed. However, this framework might cause some sorts of problems. Below given is a simple procedure to repair the .NET Framework installation.
Another way to fix wizard issues and run diagnostics on Windows 10 system is to reinstall .NET Framework using the given steps:
There are few malicious applications which interfere with the working of core components on Windows 10. Relatively, they cause the Diagnostics Troubleshooter to stop working due to which you are unable to run diagnostics on Windows 10. So, if you get this message, perform a detailed scan of your system using your antivirus program. Additionally, you can use BitDefender or a similar tool to find the malware.
Like any other Windows component, the Diagnostic Troubleshooting Wizard highly depends on certain services to run properly. Therefore, if these services are not started or configured incorrectly, you might experience problems with the Diagnostic Troubleshooter. So, in order to check the status of your services, follow the given steps:
Hope this guide is helpful to run diagnostics on Windows 10 and fixing its related issues.
Windows 11 Controller not Working - How to Quickly Fix It?
How to Adjust Brightness, Screen Color, Contrast and Gamma on PC?
How to Clear Cache in Windows 11?
How to Format an NVME SSD on Windows 11?
How to Run Android Apps on Windows 10?
How to Change Monitor Number in Windows Display Settings?
How to Fix Game Opening on the Wrong Monitor?
How to Change the Keyboard Settings to Default on Windows 11?

How to Get Purble Place on Windows 11/10?
~ May 23, 2026
How to Check CPU Temperature Windows 11?
~ May 23, 2026
How to Record Your Screen on Windows 11
~ May 23, 2026How to Fix Icons in Windows 11
~ May 23, 2026
How do I Fix Error Code 0x80070570 on Windows 10
~ May 23, 2026
Fix Touchpad Gestures Are Not Working on Windows 11
~ May 23, 2026
How to Fix the WHEA Uncorrectable Error on Windows 10
~ May 23, 2026
Top Searches in Windows 10
How to Find Windows 10 Product Key 2026?
Dec 8, 2025How to Convert FireWire Connections to USB?
Dec 8, 2025How do I Unlock my Keyboard on Windows 10?
Dec 8, 2025How do I Fix the Unresponsive Taskbar in Windows 10?
Feb 23, 2024How to Install the Amazon Prime Video App on Windows 10?
Dec 8, 2025How to Recover Uninstalled Programs on Windows 10?
Dec 8, 2025Do I Really Need Realtek High Definition Audio in Windows 10?
Dec 8, 2025How to Enable Bitlocker on Windows 10 Home?
Dec 8, 2025How to Change Network Binding Order in Windows 10?
Dec 8, 2025How do I Turn Off Windows Volume Overlay?
Dec 8, 2025