Hello, Please let me know that how to stop automatic updates on Windows 10. I am facing this issue in my windows. Please help me in this.
When you are working out on window 10 with the internet, so many updates automatically download and installed, Process of updating window 10 automatically is advanced security patches, which are required to increase your window performance, stability, and response time.
Step 1: Click on the start button which is residing at the bottom-extreme left of the desktop window.
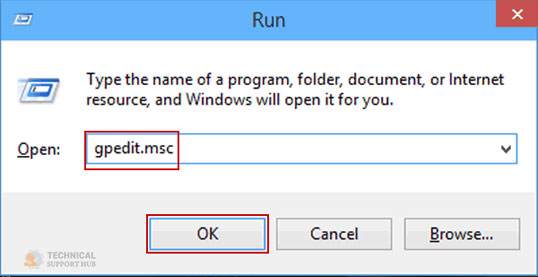
Step 2: Write gpedit.MSc in the search box and press enter to get the desired result.
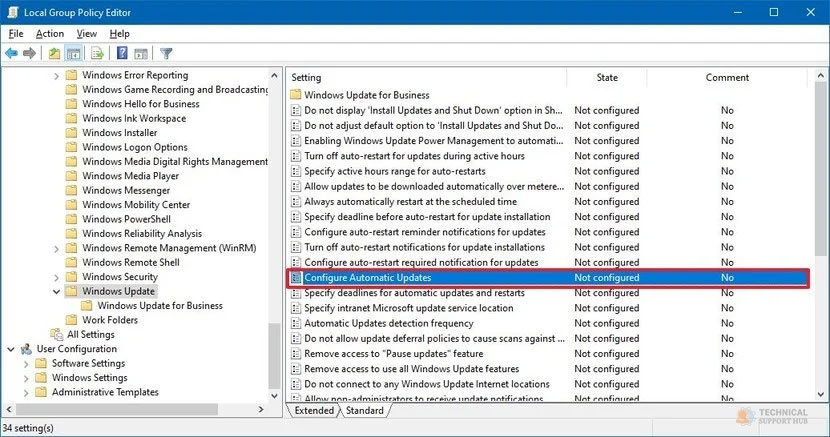
Step 3: Now you need to go with the following path in the group policy editor window.
Computer Configuration\Administrative Templates\Window Components\Window Update
Step 4: Now you need to double click on the Configure Automatic update policy, which is located on the right side.
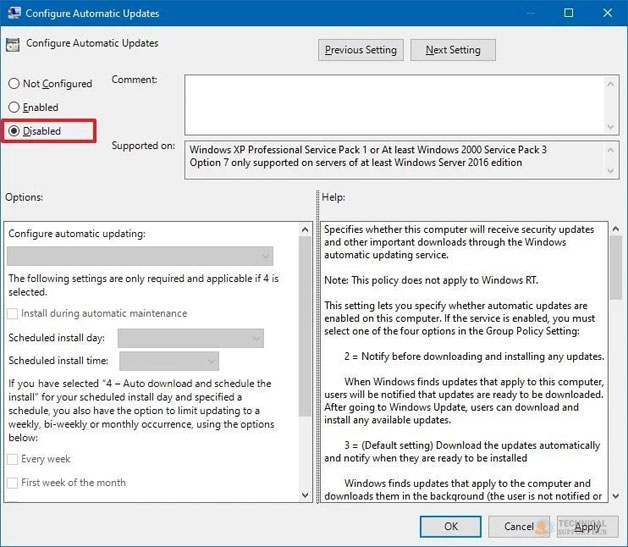
Step 5: After double-clicking on the option, you will choose to check the disabled option to turn off your window group policy.
Step 6: Now you need to click on the Apply button.
Step 7: At the end, you need to click on the OK button.
Once you done with all steps, this specifies that you have restricted your group policy from working automatically and it will stop downloading the necessary updates for window 10 automatically.
You have restricted to download window 10 updates automatically, in the meanwhile, you can still download the updates and installed on window 10 manually by doing some steps
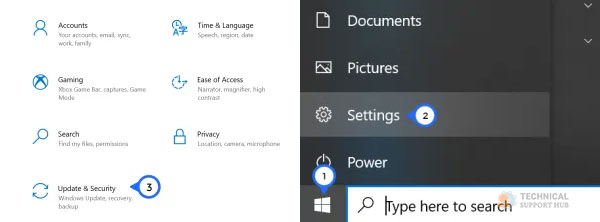
Step 8: First you need to go in setting->Update & Security->Window update, then you can check out for available window update.
If the above option is not working, you can customize your window update by doing some setting in the group policy to limit the availability of updates for your device.
Step 1 : Start->go to gpedit.msc->go to path Computer Configuration\Administrative Templates\Windows Components\Windows update.
Step 2: You need to double click on the ‘Configure Automatic updates’, which is located on the right side.
Step 3: You need to check the ‘enable’ option to turn on your group policy.
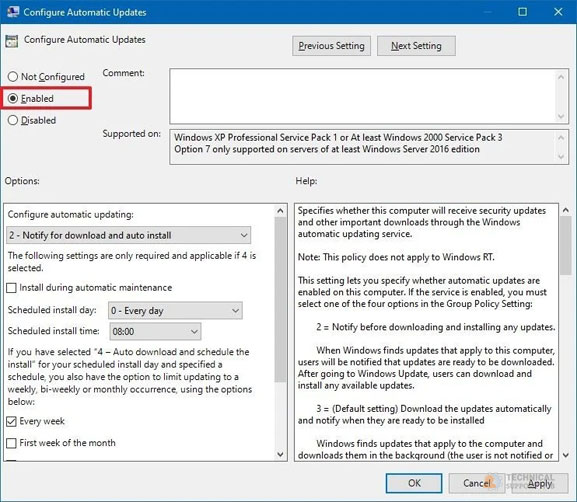
Step 4: By checking the enable the option, you will get several options, you have to select one of them.
Step 5: Select the ‘2’ option, which specifies ‘Notify for download and auto-install’, which is the closest option to disable automatic updates.

Step 6: Now you need to click on the apply button then OK.
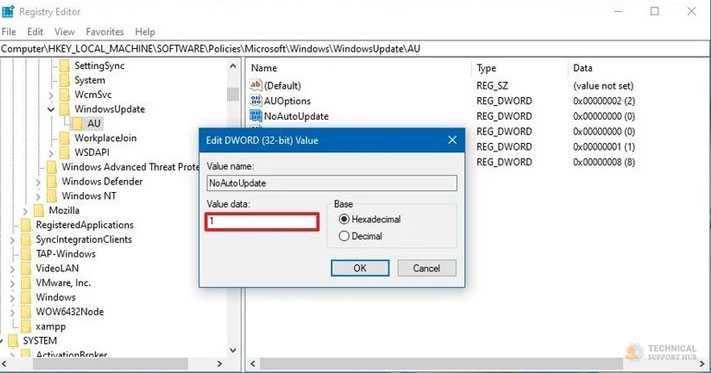
You can restrict updates on window 10 by modifying the registry by following some steps.
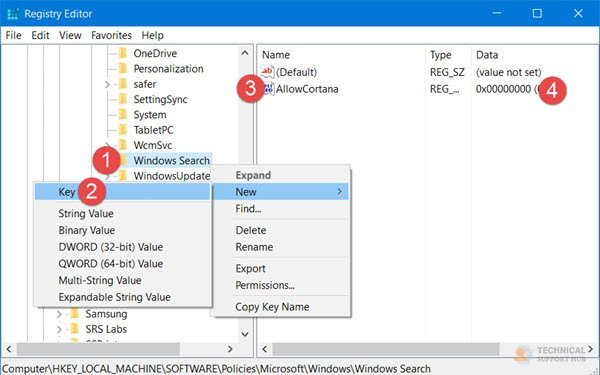
Step 1 : Go to start->search regedit->go to path HKEY_LOCAL_MACHINE\SOFTWARE\POLICIES\MICROSOFT\Windows->Right click on window folder-> new->Click on key->assign a new name to key is ‘window update’->enter->right click on newly created key->new->click on key->assign a new name to key is ‘AU’->Enter->Right click on the right side of window->select new->click on DWORD(32Bit) value->assign a new name to new key is ‘No window update->enter->Double click on new key for changing it’s value from ‘0’ to ‘1’->click on OK button->Restart your computer.
Step 2: These are the above steps to stop trying to download and install Windows update automatically on your device.
Step 3:You can update your window manually by using the following settings to check if any window updates are available now.
Step 4:Go to ‘Setting’->Update and Security-. Window update->check for windows updates.
Step 5:If you found any update select that update and download it and install.
Step 1 : Start->go to regedit.msc->go to path HKEY_LOCAL_MACHINE\SOFTWARE\POLICIES\MICROSOFT\Windows.
Step 2: You need to right-click on the ‘window folder’, select ’new’, and click on the key.
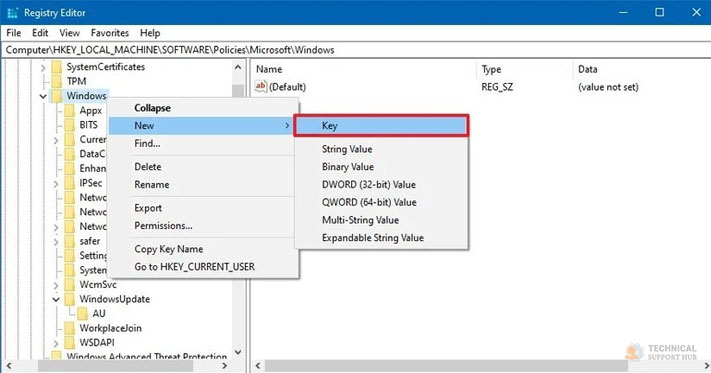
Step 3: Assign a new name to the key is ‘window update’ and press enter.
Step 4: You need to right-click the ‘window update’ key and select ‘new’ and click.
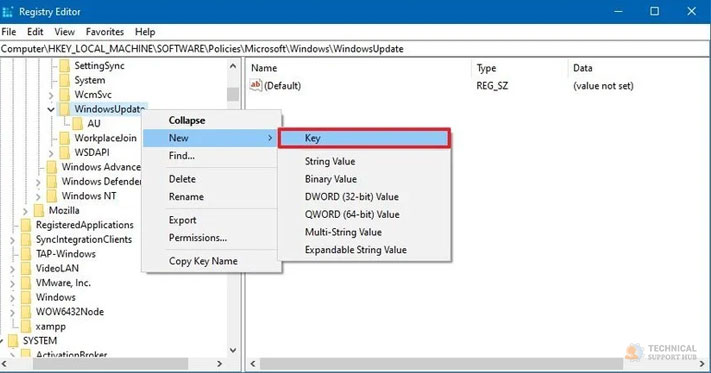
Step 5: You need to assign a new name to the key is ‘AU’ and need to press enter.
Step 6: You need to click right side->new->click on DWORD.
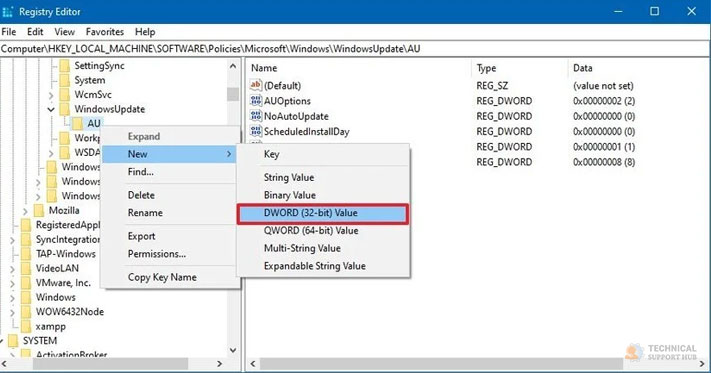
Step 7: Assign new key is ‘adoption’->enter.
Step 8: You need to double click on the newly created key as a select value in the number.
Step 9: Select the ‘2’ option, which specifies ‘Notify for download and auto-install’, which is the closest option to disable automatic updates.
Step 10: Now you need to click on the apply button then OK.
Automatic updating of the window is sometimes good and bad both, automatic update refers that user should not worry about to browse the latest security patch of their window every time, but in another case, if you are not using license version of window 10, so the latest update might be affecting your computer negatively.
These are the step by step procedure to restrict your windows update.
Windows 11 Controller not Working - How to Quickly Fix It?
How to Adjust Brightness, Screen Color, Contrast and Gamma on PC?
How to Clear Cache in Windows 11?
How to Format an NVME SSD on Windows 11?
How to Run Android Apps on Windows 10?
How to Change Monitor Number in Windows Display Settings?
How to Fix Game Opening on the Wrong Monitor?
How to Change the Keyboard Settings to Default on Windows 11?

How to Get Purble Place on Windows 11/10?
~ May 23, 2026
How to Check CPU Temperature Windows 11?
~ May 23, 2026
How to Record Your Screen on Windows 11
~ May 23, 2026How to Fix Icons in Windows 11
~ May 23, 2026
How do I Fix Error Code 0x80070570 on Windows 10
~ May 23, 2026
Fix Touchpad Gestures Are Not Working on Windows 11
~ May 23, 2026
How to Fix the WHEA Uncorrectable Error on Windows 10
~ May 23, 2026
Top Searches in Windows 10
How to Find Windows 10 Product Key 2026?
Dec 8, 2025How to Convert FireWire Connections to USB?
Dec 8, 2025How do I Unlock my Keyboard on Windows 10?
Dec 8, 2025How do I Fix the Unresponsive Taskbar in Windows 10?
Feb 23, 2024How to Install the Amazon Prime Video App on Windows 10?
Dec 8, 2025How to Recover Uninstalled Programs on Windows 10?
Dec 8, 2025Do I Really Need Realtek High Definition Audio in Windows 10?
Dec 8, 2025How to Enable Bitlocker on Windows 10 Home?
Dec 8, 2025How to Change Network Binding Order in Windows 10?
Dec 8, 2025How do I Turn Off Windows Volume Overlay?
Dec 8, 2025